
Budget vs. Premium: Where to Spend on Video Gear 🎥💸
- Webmaster
- Aug 10, 2025
- 4 min read


The real question isn’t “How much?”—it’s “What moves quality?” 🎯
When it comes to budget vs premium video gear, the real question isn’t “How much?”—it’s “What moves quality?” 🎯 Invest in the parts your audience actually notices: audio clarity, soft flattering light, stable framing, and clean color. When they aren’t, a $5k camera still looks mid.
Below, I’ll break down where premium pays off and where budget wins.
Budget vs Premium Video Gear: Spend Here First 💰➡️🧠
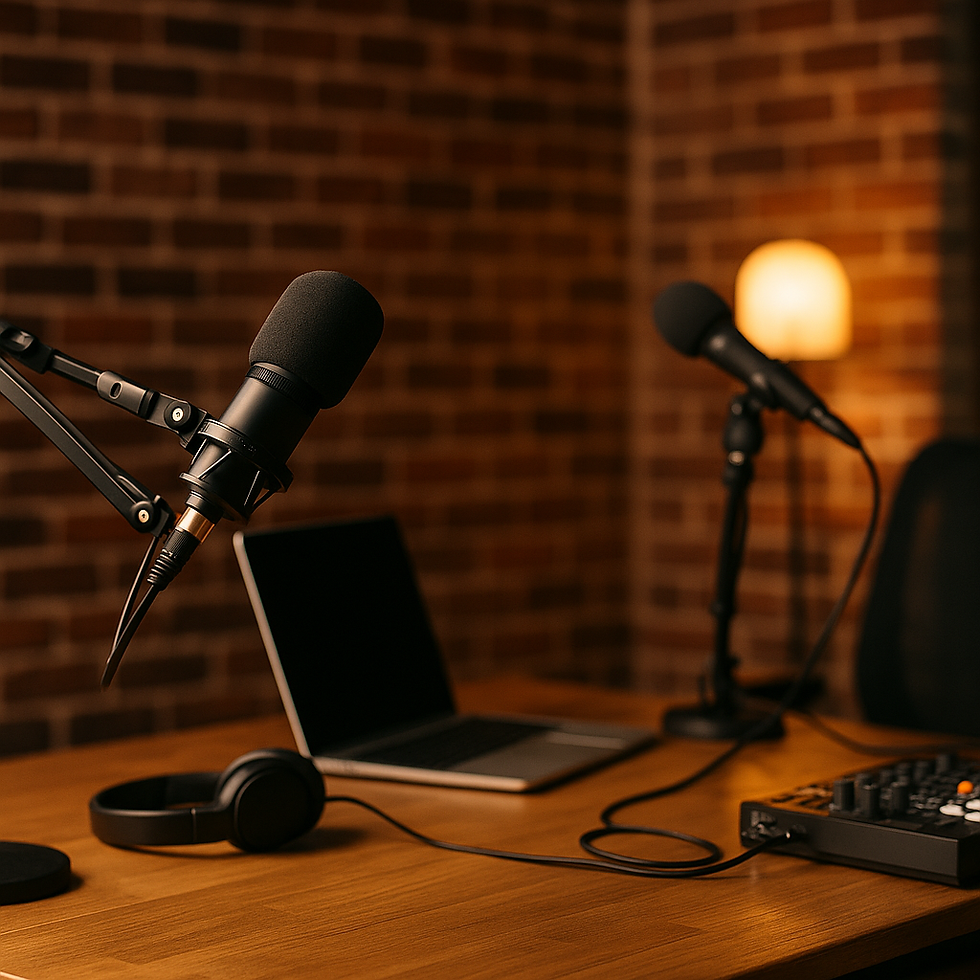
1) Audio chain (microphone + placement + interface) 🎙️
If viewers can’t hear you clearly, they bounce. A dynamic vocal mic close to the mouth (6–8") cuts room echo and sounds rich even in untreated rooms. Premium buys you lower noise, better plosives control, and durability; budget mics can still sound great with smart placement.
2) Lighting (quality of softness > sheer brightness) 💡
Soft, directional light is the “instant upgrade.” Premium fixtures add color accuracy, flicker-free dimming, quieter fans, and ecosystem control. Budget LED + a decent softbox can look shockingly good if you control spill and distance.
3) Lenses (glass over body) 🔍
A fast prime (e.g., ~24–35mm equivalent, f/1.4–f/2) gives you separation and a clean, contrasty look. Premium buys corner sharpness and build; budget primes still deliver that “cinematic” jump at a fraction of the price.
4) Support & stability (tripod > gimbal… at first) 🦾
A rock-solid tripod and proper height/leveling make your footage feel expensive. Premium gimbals are amazing—but only after you can frame and lock a shot.
Places you can save (without hurting quality) 🧠
Camera body (until you hit the limits) 📷
Modern, creator-focused mirrorless bodies punch way above their price. If your content is controlled (talking heads, product demos), budget or mid-tier bodies are plenty. Upgrade when you need better AF tracking, 10-bit codecs, internal ND, longer record times, or dual card slots.
Room treatment (DIY first) 🧱
You don’t need designer panels. Rugs, curtains, bookshelves, duvets off-camera = free acoustic wins. Buy panels later if needed.
Power & media 🔌
Don’t overspend—reliable batteries, a simple power strip with surge protection, and name-brand SD cards are enough. Premium “smart” power ecosystems are nice-to-have, not need-to-have.

When premium actually makes money back 💼📈
Uncontrolled environments: Better AF, luts/codecs, internal ND = fewer ruined takes.
Color accuracy across teams: Higher-end lights/monitors reduce fix-it-in-post time.
Run-and-gun reliability: Weather sealing, strong mounts, and robust I/O save shoots.
Scaling to multi-mic podcasts: Clean preamps and silent gain really matter.
Three sample builds (with storefront tie-ins) 🛒
1) Starter: Look Pro, Spend Smart (<$800–$1k) ⚡
Dynamic USB mic on low-profile boom (no interface needed)
Boom arm (low profile)
Solid fluid-head tripod
Camera (choose one)
Accessories
2) Sweet Spot: The Best Value (~$1.5k–$2.5k) 🍯
Camera (choose one path)
Audio chain
- Shure MV7X or RØDE PodMic — broadcast-style dynamic, great rejection.
- Focusrite Scarlett 2i2 (4th Gen) or Focusrite Vocaster Two — clean gain, 2 mics ready.
- RODE PSA1+ or Elgato Low Profile Mic Arm — stable positioning, tidy cables.
- Audio-Technica ATH-M40x — closed-back monitoring.
- XLR cable + pop filter — essentials for clean sound.
Lighting
- amaran 100d S + Aputure Light Dome Mini II — bright, accurate, soft.
- (Budget alt) Godox SL60IID + 85cm/33" softbox — great value.
- Neewer 9 ft light stand + 5-in-1 reflector — easy fill control.
3) Premium Where It Counts (~$3k–$5k+) 🚀
Camera & Lens
- Sony a7C II + FE 35mm f/1.8(Alt: Canon R6 Mark II + RF 35mm f/1.8)
Audio
Lighting
Practical upgrades that beat a camera swap 🧩
Move closer to the mic (free). Aim peaks around –12 d BFS. 🎧
Back up from the wall (3–5 ft) for instant depth.
Feather your softbox across the face, not straight on; add a cheap reflector.
Lock white balance to match your key (e.g., 5600K). No auto WB flicker.
Use a variable ND when shooting near windows; keep shutter at 1/50–1/60 for 24/30 fps.

Common traps (and what to do instead)
Fort Worth Creators: Our Local Tip
If you’re in Fort Worth or the DFW area, consider renting gear first or booking a studio session. At SwoleNerdProductions.com, we offer both. We’ve helped dozens of new podcasters launch right here in Texas and we’d love to help you, too.
Want a Ready-to-Go Kit?
DM us and we’ll build you a custom Amazon shopping list for your setup, based on your space, budget, and goals.
Disclosure:
Some of the links in this post are Amazon affiliate links. This means I may earn a small commission — at no extra cost to you — if you choose to make a purchase through them. I only recommend products I genuinely trust and believe are helpful for creators.

Comments